I'm a big fan of FreeBSD. But previously I only played with it occasionally in VMs and haven't deep dived into it. Recently I decided to run FreeBSD on a real machine. This post describes how I install and configure FreeBSD on a Mini PC (SER5 Max).
I already have two MBP laptops and I don't want to have another laptop. But I don't have enough space to place a traditional desktop computer on my desk, so I plan to buy a mini PC. Beelink seems a good choice according to this thread. Beelink SER5 Max has AMD 5800H CPU. It's powerful than many laptops CPU and should compile source code very fast.
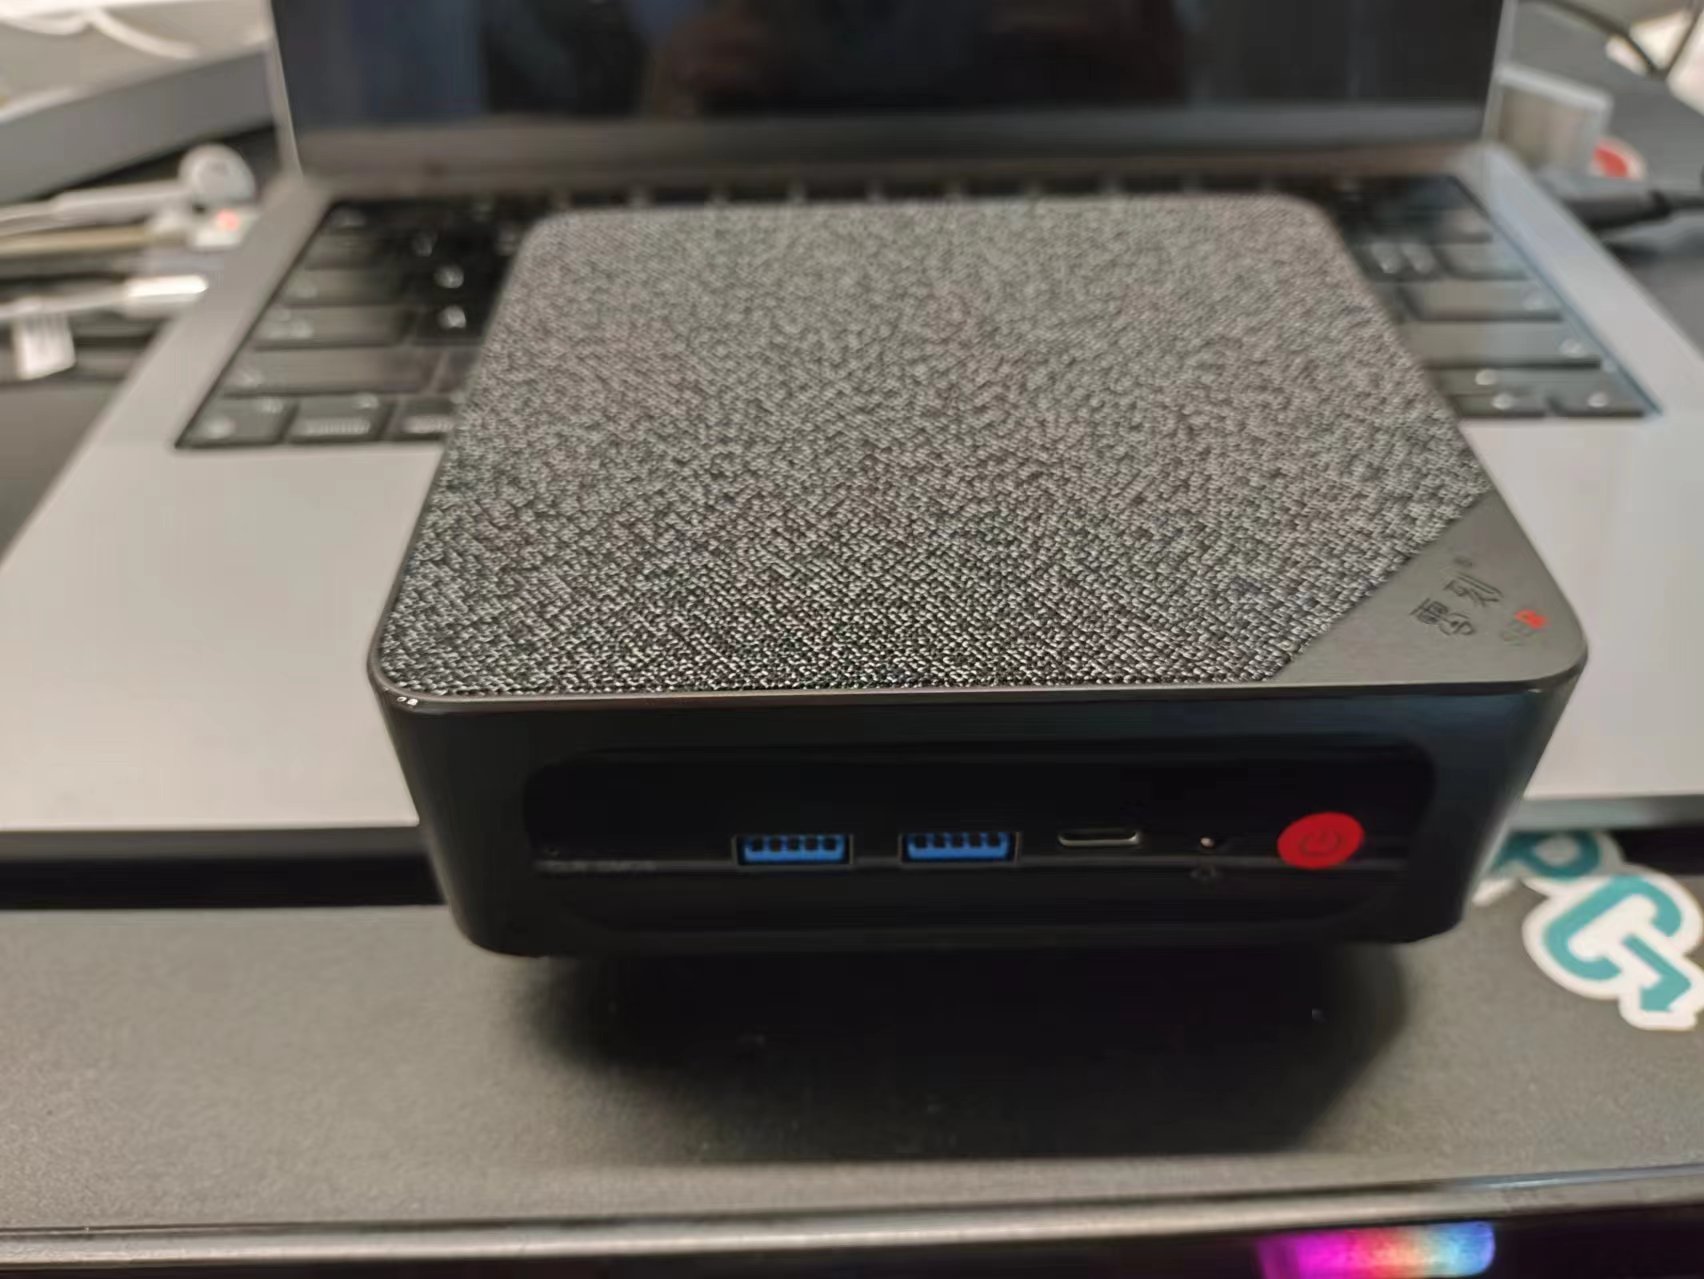
I met some problems during the installation and fixed them all, I hope this post can help people who have similar issues:
- Partition using Root on ZFS
- Dual Boot with Windows
- WIFI connection
Installation🔗
The model I bought has 32GB memory and 1TB SSD with Windows 11 preinstalled. I wanted to keep the Windows system in case I need to run some Windows only applications. So I shrinked 500GB free partition from Windows system parition in Windows disk manager.
I wanted to install Root on ZFS, but the bsdinstall Auto ZFS option uses the entire disk. Luckily I found this wiki. I followed exactally the same steps here but without swap partition.
Dual boot with Windows🔗
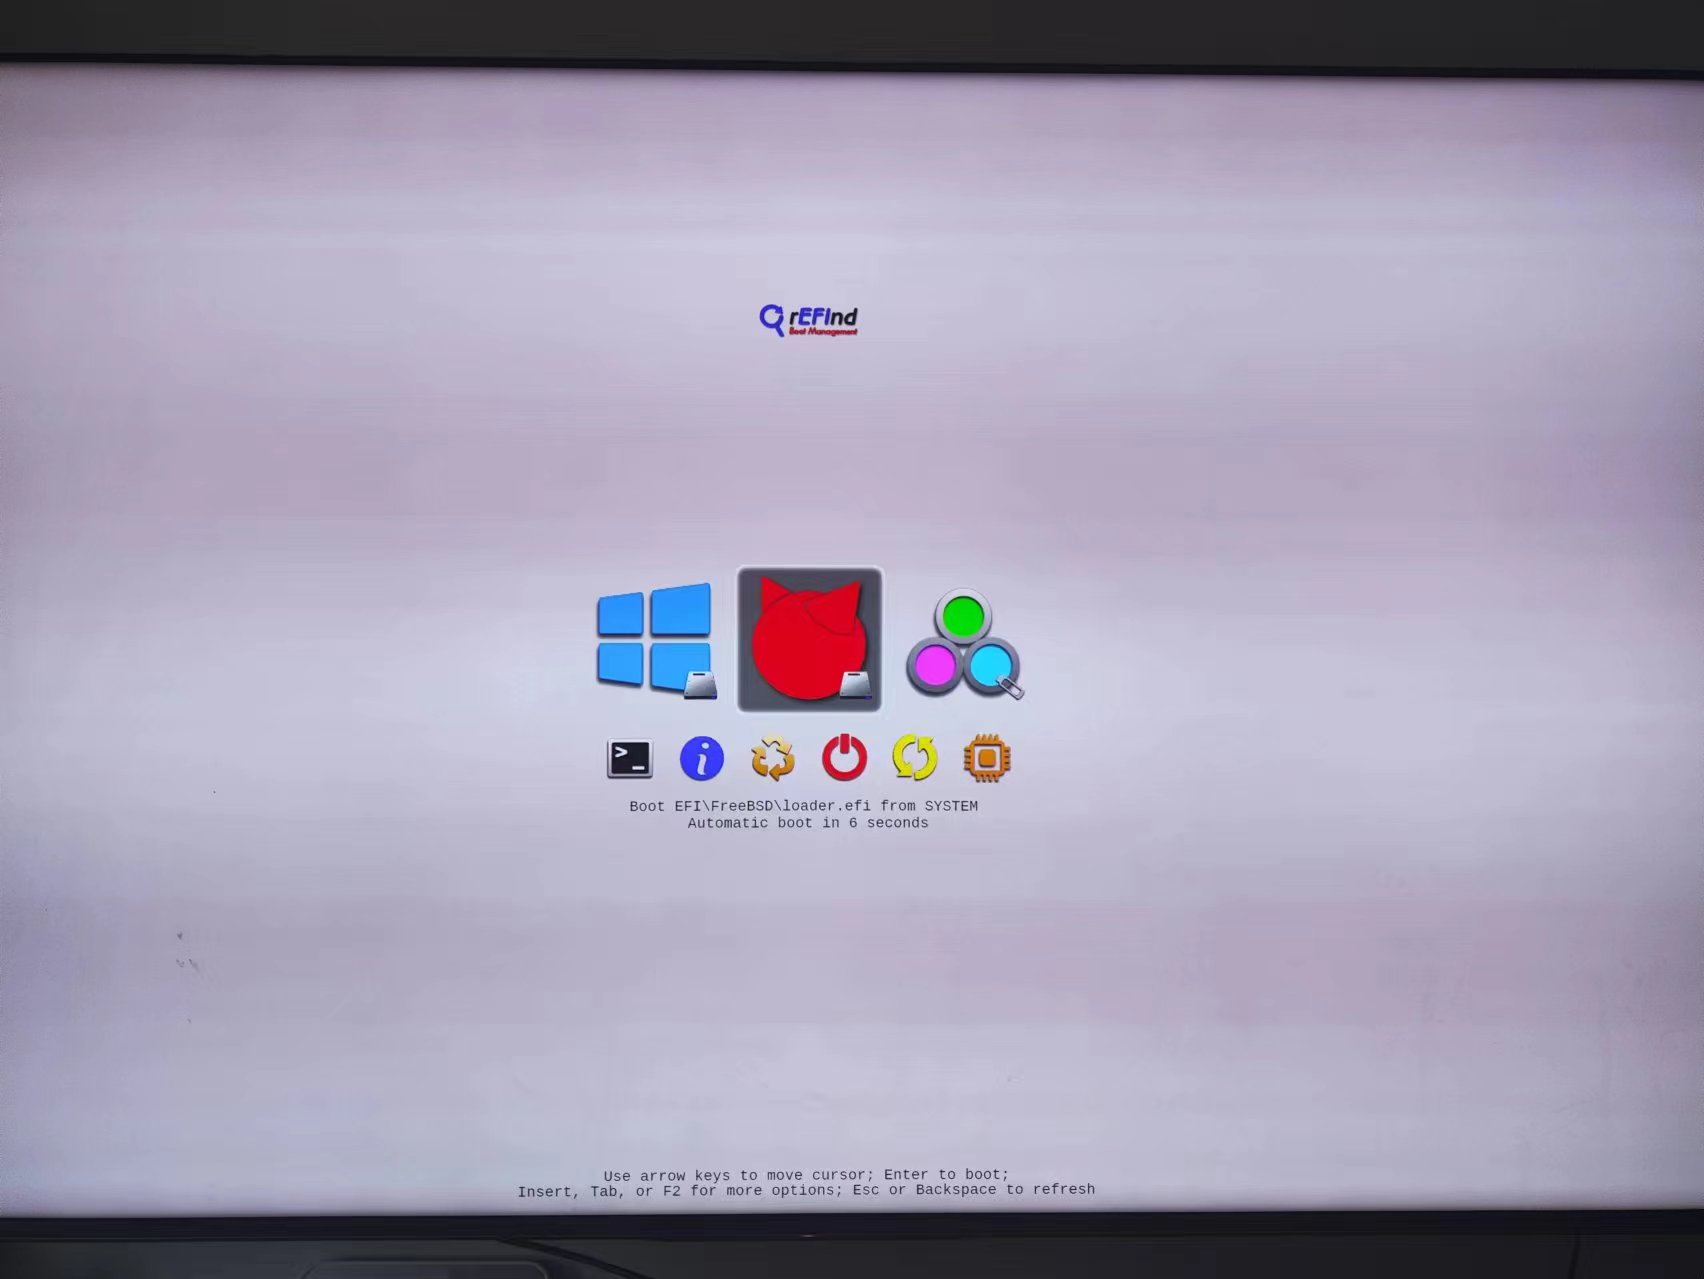
After finished the installation, I couldn't boot into FreeBSD. There was no option to choose which system to boot, it directly booted to Windows. After some Googling, I've found this gist to help me dual boot Windows and FreeBSD with boot manager rEFInd. Though this gist was created 5 years ago, it's still valid and I followed exactally the same steps to fix the boot issue.
Mount ZFS zroot pool in LiveCD🔗
The fixing steps need to run on a LiveCD, so I booted again using the USB memstick. When prompted for installation, I chosed the LiveCD option. After logging into the LiveCD environment, I found the LiveCD system was readonly except for /tmp directory. So I followed this thread to mount my ZFS zpool under /tmp directory.
Setup WIFI connection🔗
To install rEFInd, I need to connect to the internet to download the rEFInd zip file. As most part of the LiveCD system is readonly, I couldn't configure the WIFI connection according to the handbook Network chapter. And there was no wireless network interface in the LiveCD system. So I chrooted into the mounted zfs root directory and configured the WIFI network.
With the above steps, the wlan0 interface showed up. But it couldn't connect to my home WIFI. However my WIFI SSID did show up in the scanning output list by ifconfig wlan0 list scan. At first I doubted the regdomain configuration in /etc/rc.conf. But changing it to different values did not solve the issue and even worse I couldn't scan my WIFI SSID if configured with a wrong value. After some Googling, I decided that the etsi is the correct value.
Then I tried to run wpa_supplicant manually wpa_supplicant -Dbsd -iwlan0 -c /etc/wpa_supplicant.conf as its help message suggested. The log showed some devices are missing. Then I realized that it may due to some devices were not properly handled in the chroot environment. So I exited the chroot environment and ran the wpa_supplicant directly from the LiveCD environment by wpa_supplicant -Dbsd -iwlan0 -c /tmp/root/etc/wpa_supplicant.conf. It succeeded!
With WIFI connected, I could follow the steps in the above gist to install rEFInd.
# Mount EFI partition
# Install FreeBSD boot entry
# Double check FreeBSD boot entry is properly configured
# Install rEFInd boot entry
# Double check rEFInd boot entry is properly configured
# Reboot
But there was still one minor issue preventing me from booting to FreeBSD, the system still booted to Windows directly without prompting me choose which OS to boot. After navigating around the BIOS menu, I found that there was a secondary boot order priority. The primary boot order priority configuration is for which devices to boot first, and the secondary is for a specific device's boot priority.
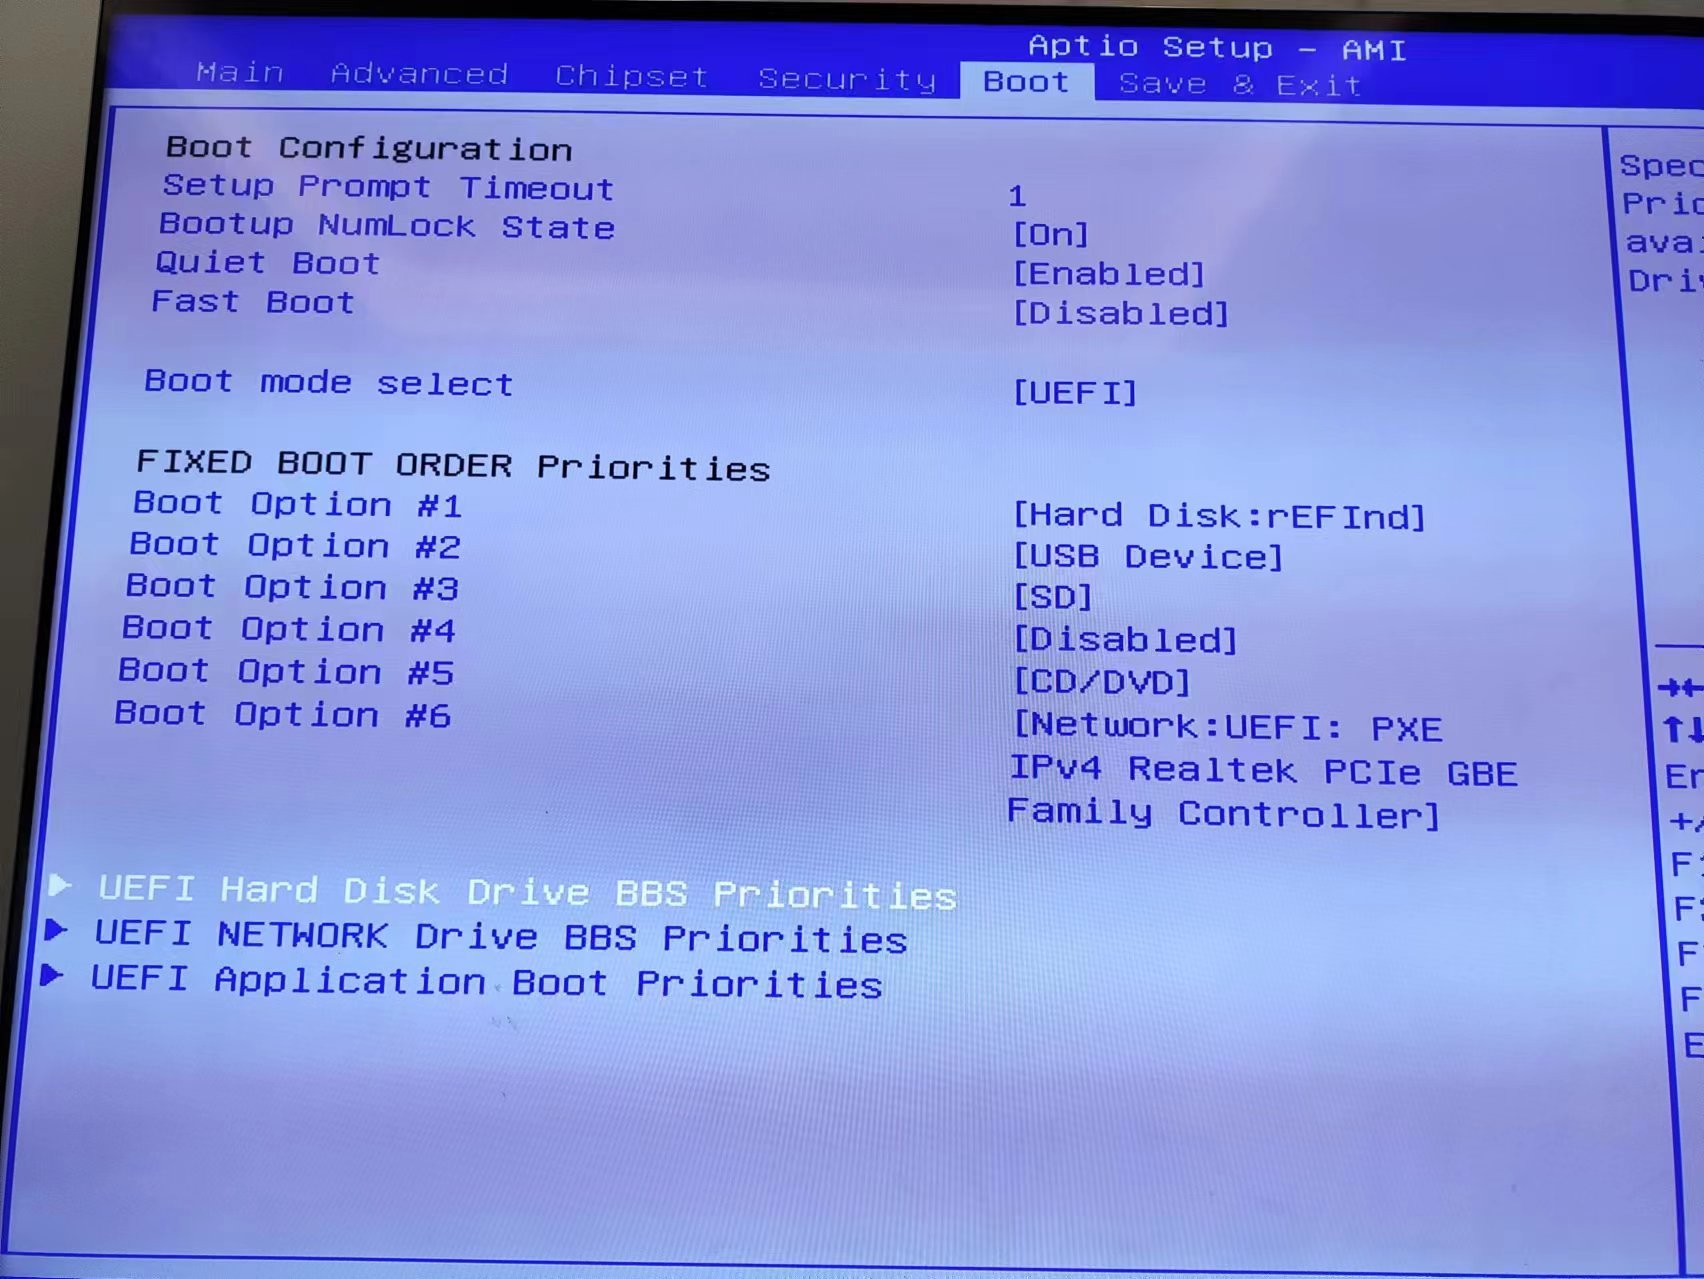
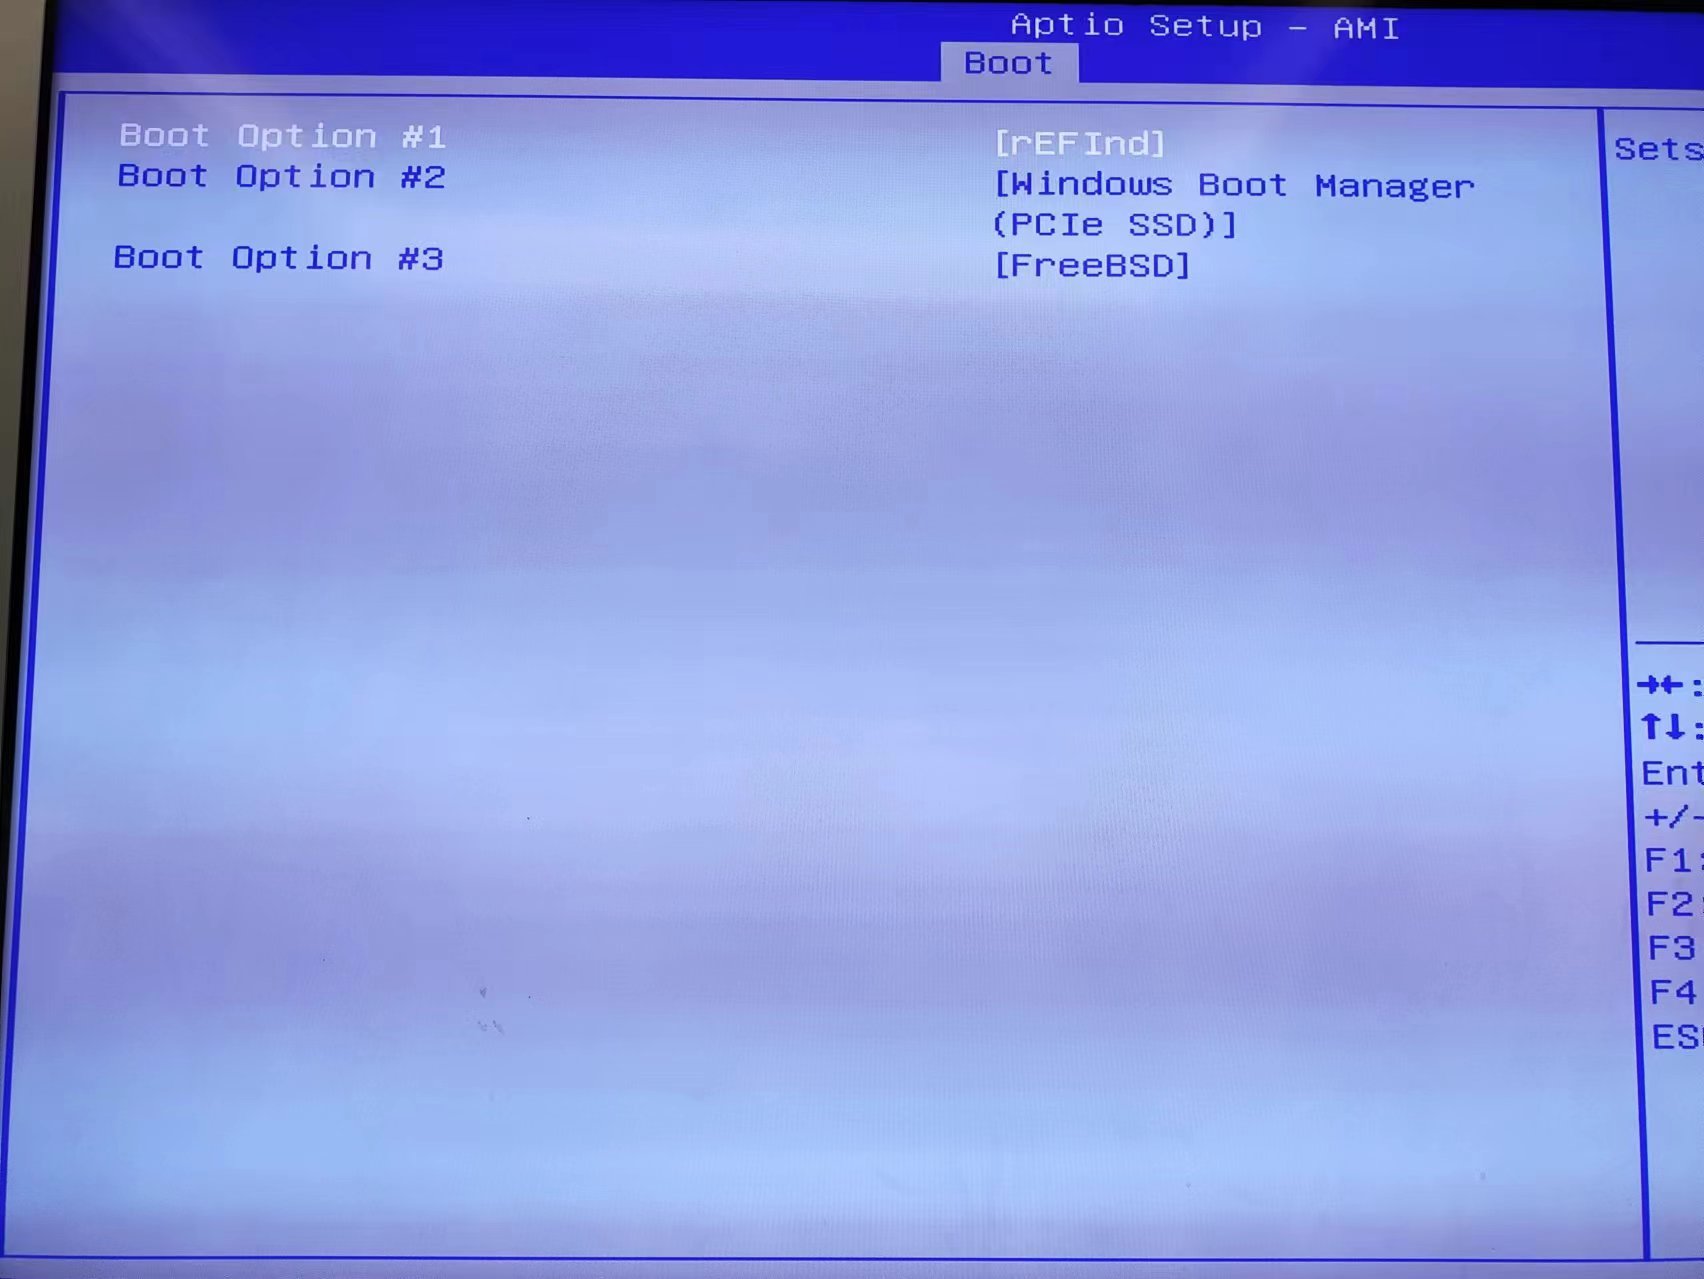
After adjusting the secondary boot order priority, I could finally boot to the newly installed FreeBSD system!
Tracking stable branch🔗
As documented in the handbook, it's not suggested to run FreeBSD-STABLE as it's a development branch. But I want to deep dive into FreeBSD and reading its source code and tracking its development. So I cloned the FreeBSD source code into /usr/src and checked out the latest stable branch stable/14. After compiling and installing the source code, my system is updated to 14.1-stable.
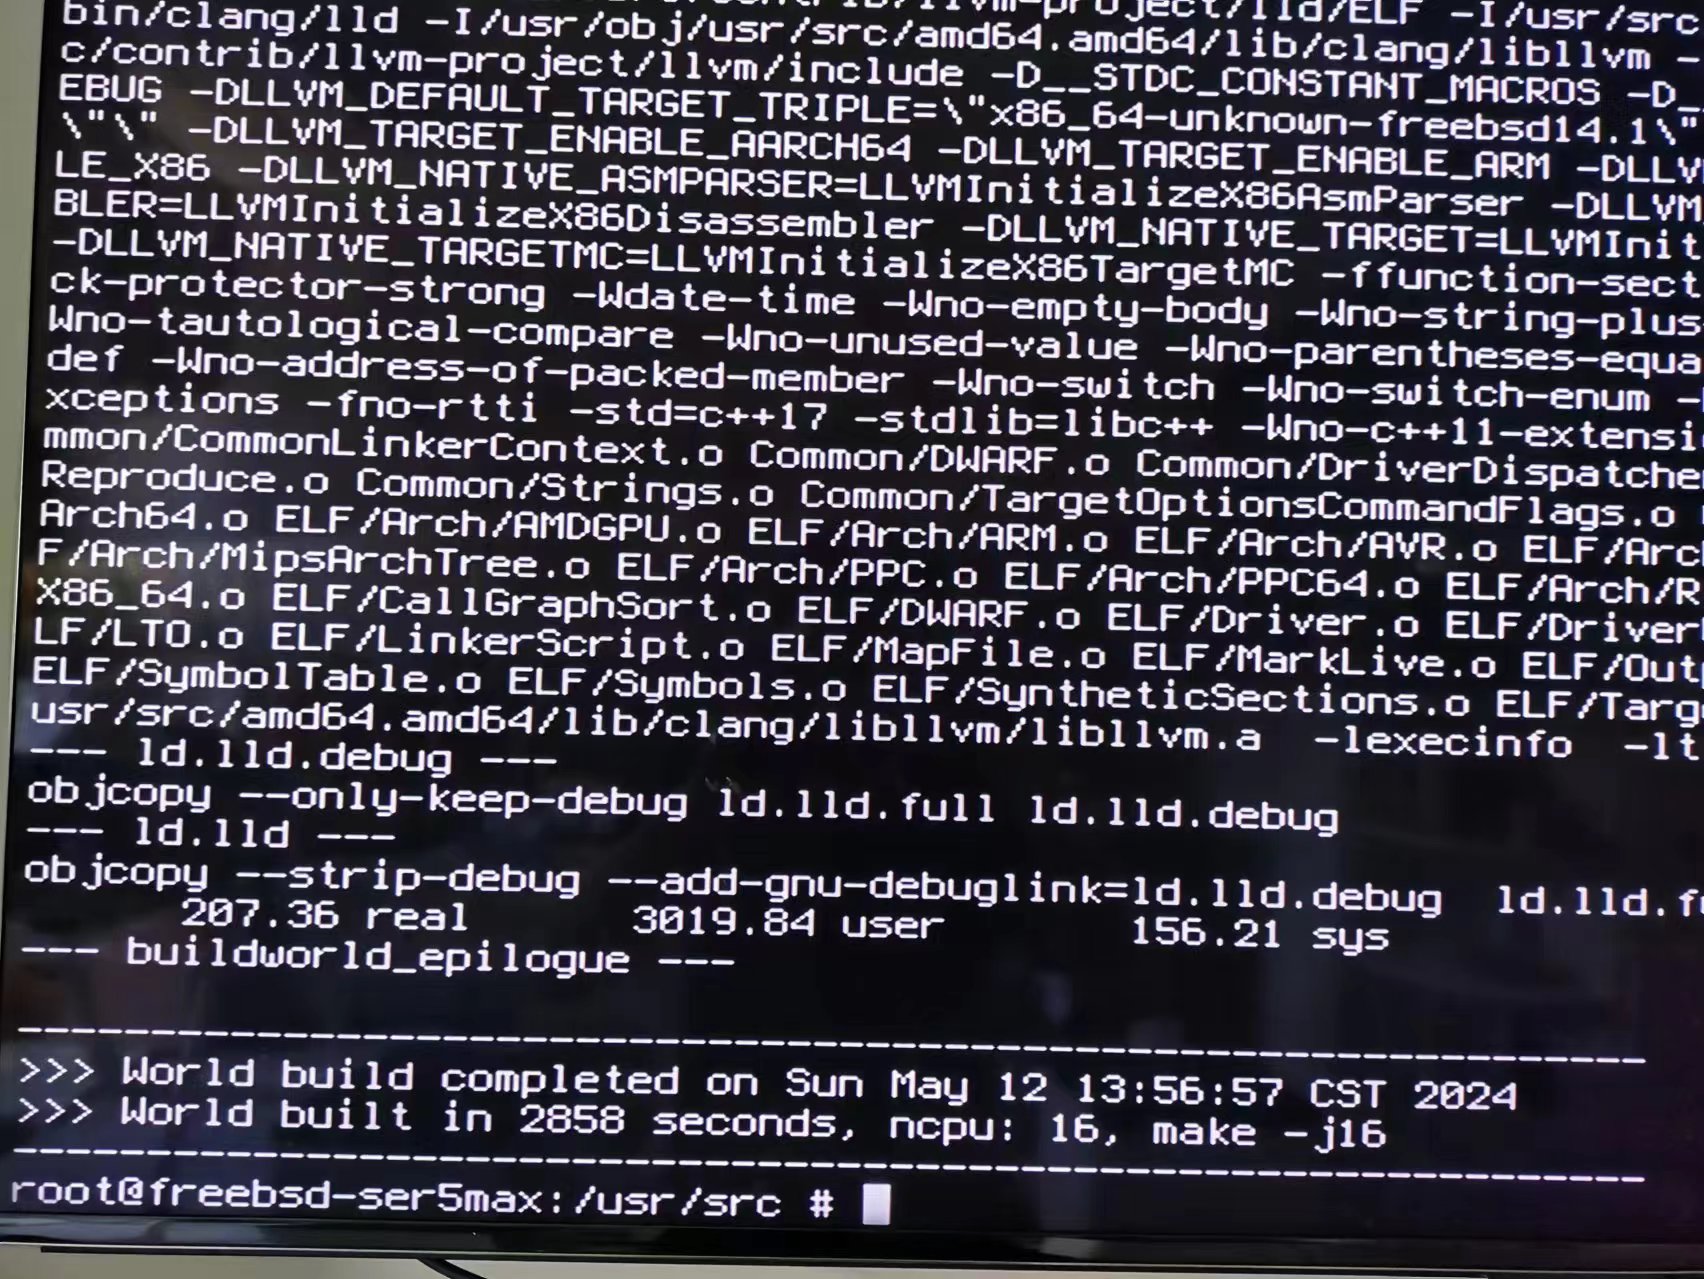
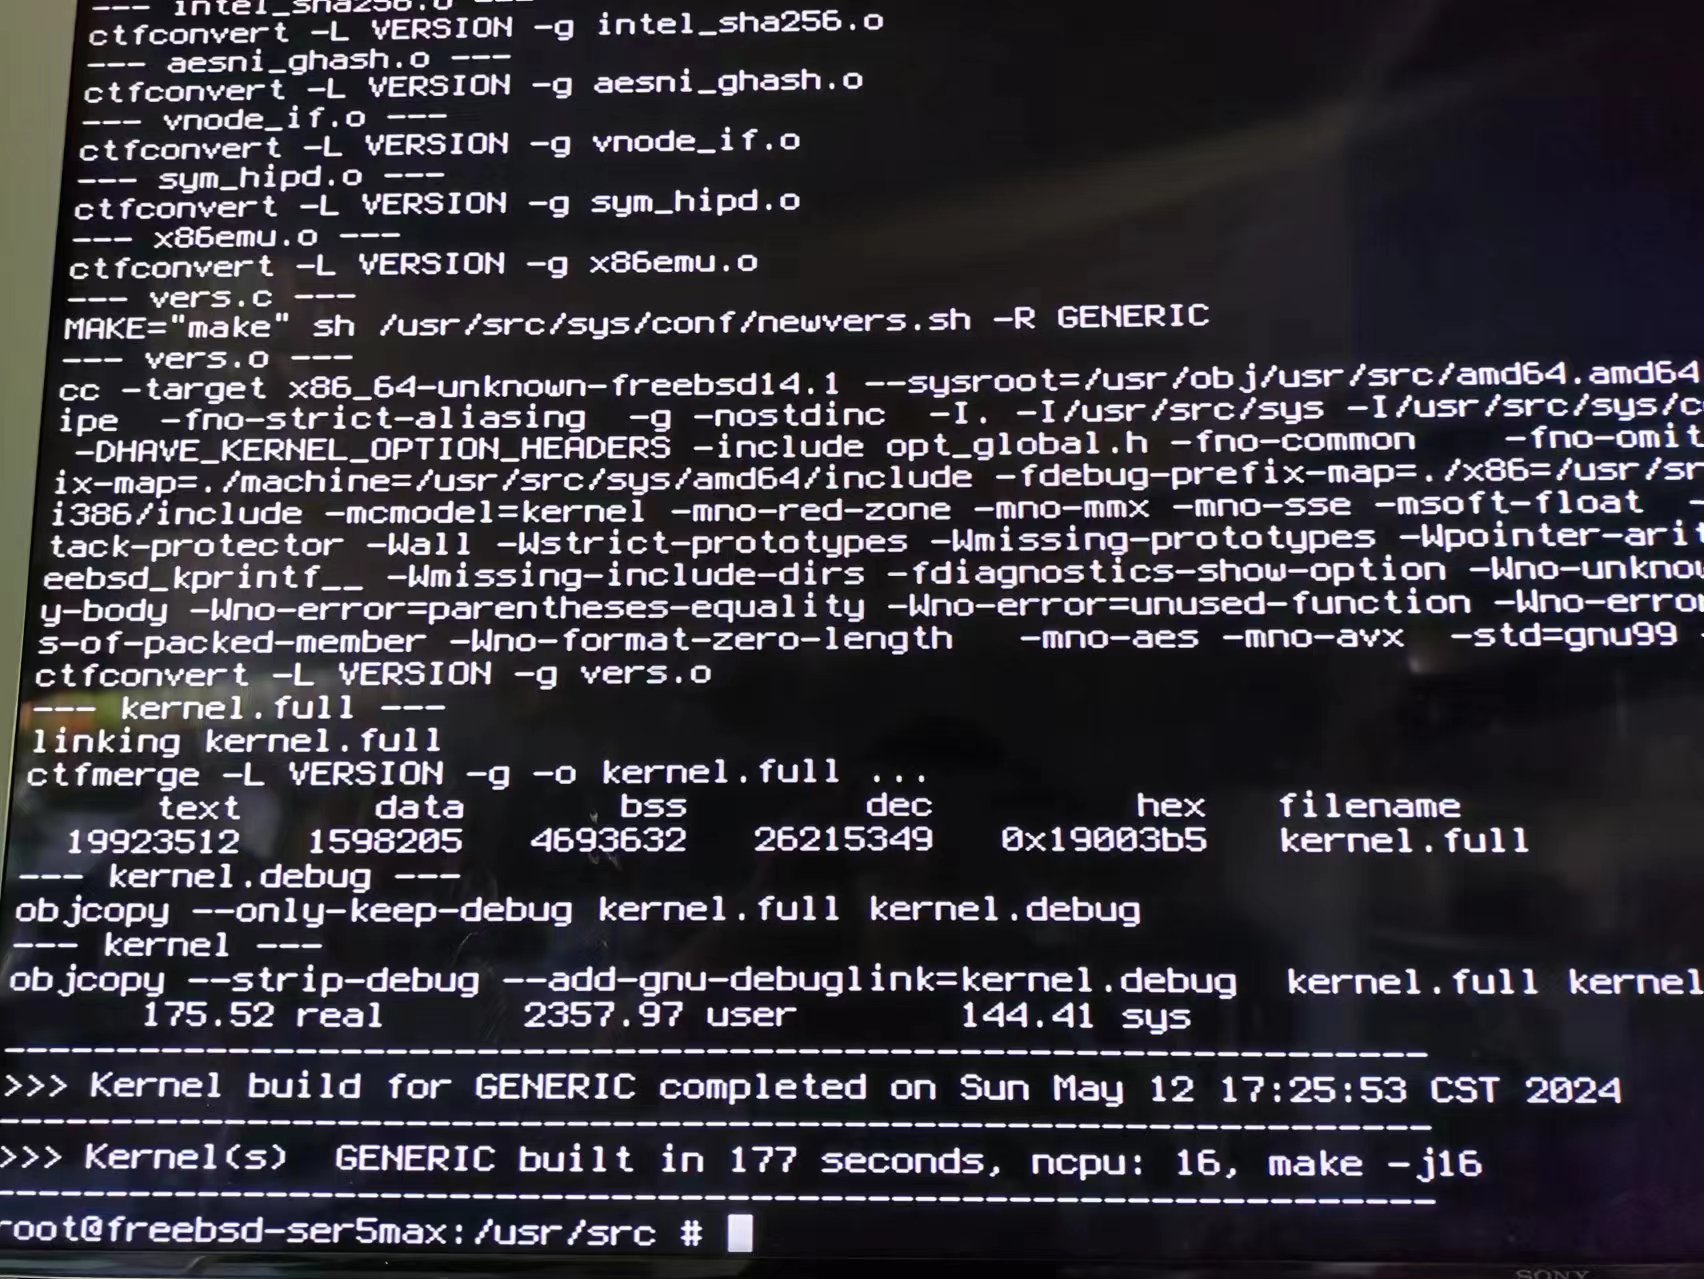
By compiling the source code, I also measured the system performance. Last time I make buildworld in a VM, it cost me more than 7 hours. Now since sysctl hw.ncpu shows there are 16 CPUs on SER5 Max, I built the world and kernel with -j16. The make -j16 buildworld took 2858s (47.6min) which is fast enough. And during the compilation, the fan was a bit noisy but the whole machine was just the same as room temperature so the CPU must run at full speed during the compilation. However under normal usage, the fan is pretty quiet.
Install X and Window Manager🔗
I don't just want the FreeBSD as an SSH box, and I may install a Linux VM for cloud and Docker related development. So I installed xorg and i3 window manager. The FreeBSD handbook is very informative, besides I've played FreeBSD before. So the installation is pretty smoooth.
# Install noto font to display CJK characters correctly
I've usd chezmoi to manage my dotfiles on macOS and Linux, so I also installed the chezmoi and applied my dotfiles by chezmoi init --apply tennix. For interested readers, my dotfiles is here.